Setting Up the Project
How to get the BloggFast source code after purchase and open it locally.
Last updated:
Overview of the five steps
This guide walks you through setting up BloggFast locally and deploying it to production. The full flow is five steps:
- Get the project
- Set up the environment variables
- Set up the database
- Test locally
- Deploy the project
We'll start here with Step 1 — getting the code onto your machine.
Step 1 — Get the project
The first step is to get access to the BloggFast project files. Go to blogg.fast and choose the access option that fits your needs: Starter or Lifetime.
Starter plan (zip download)
If you choose the Starter plan, you will receive an email containing a download link for the project. Open the email, click the link, and download the project as a ZIP archive.
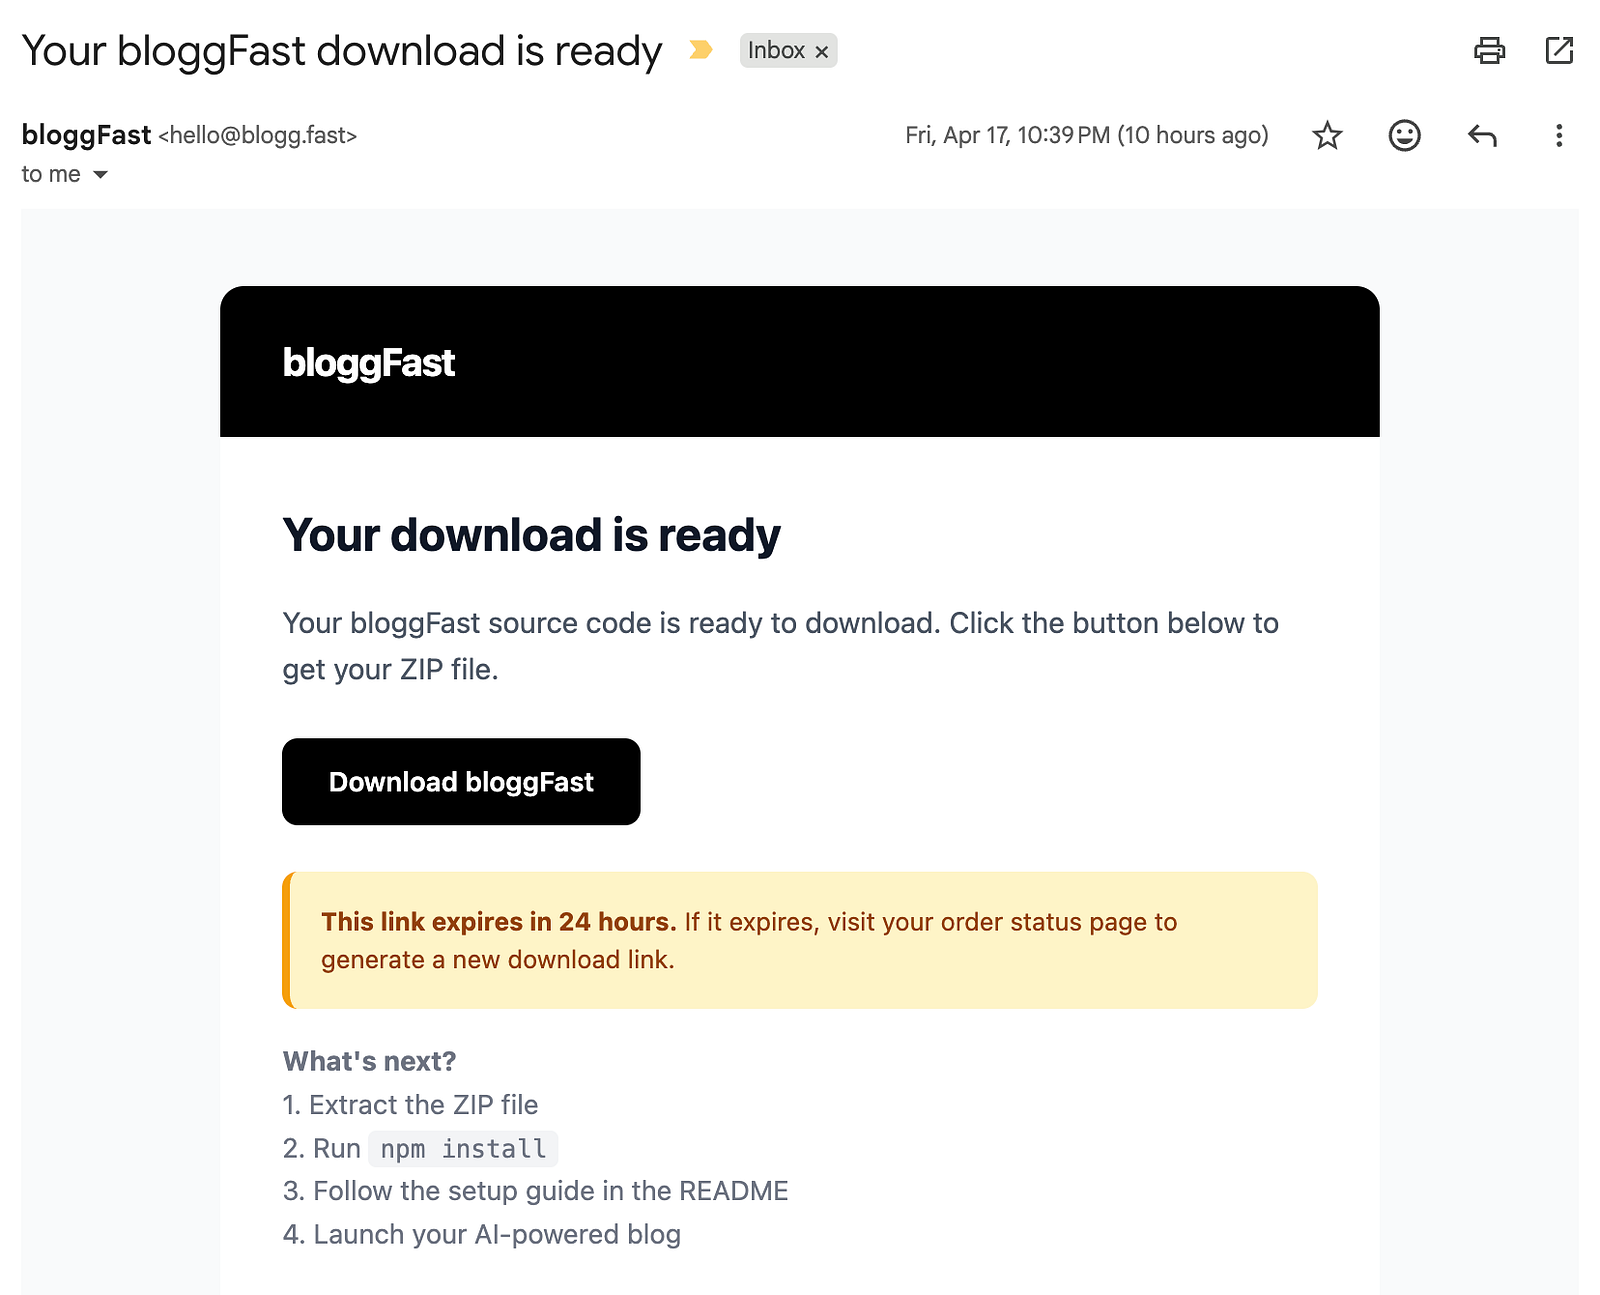
Once the download is complete, extract the archive to a location on your machine where you want to work on the project.
Lifetime Access (GitHub invite)
If you choose Lifetime access, your email address will be added to the private GitHub repository automatically. You will receive this email like this:
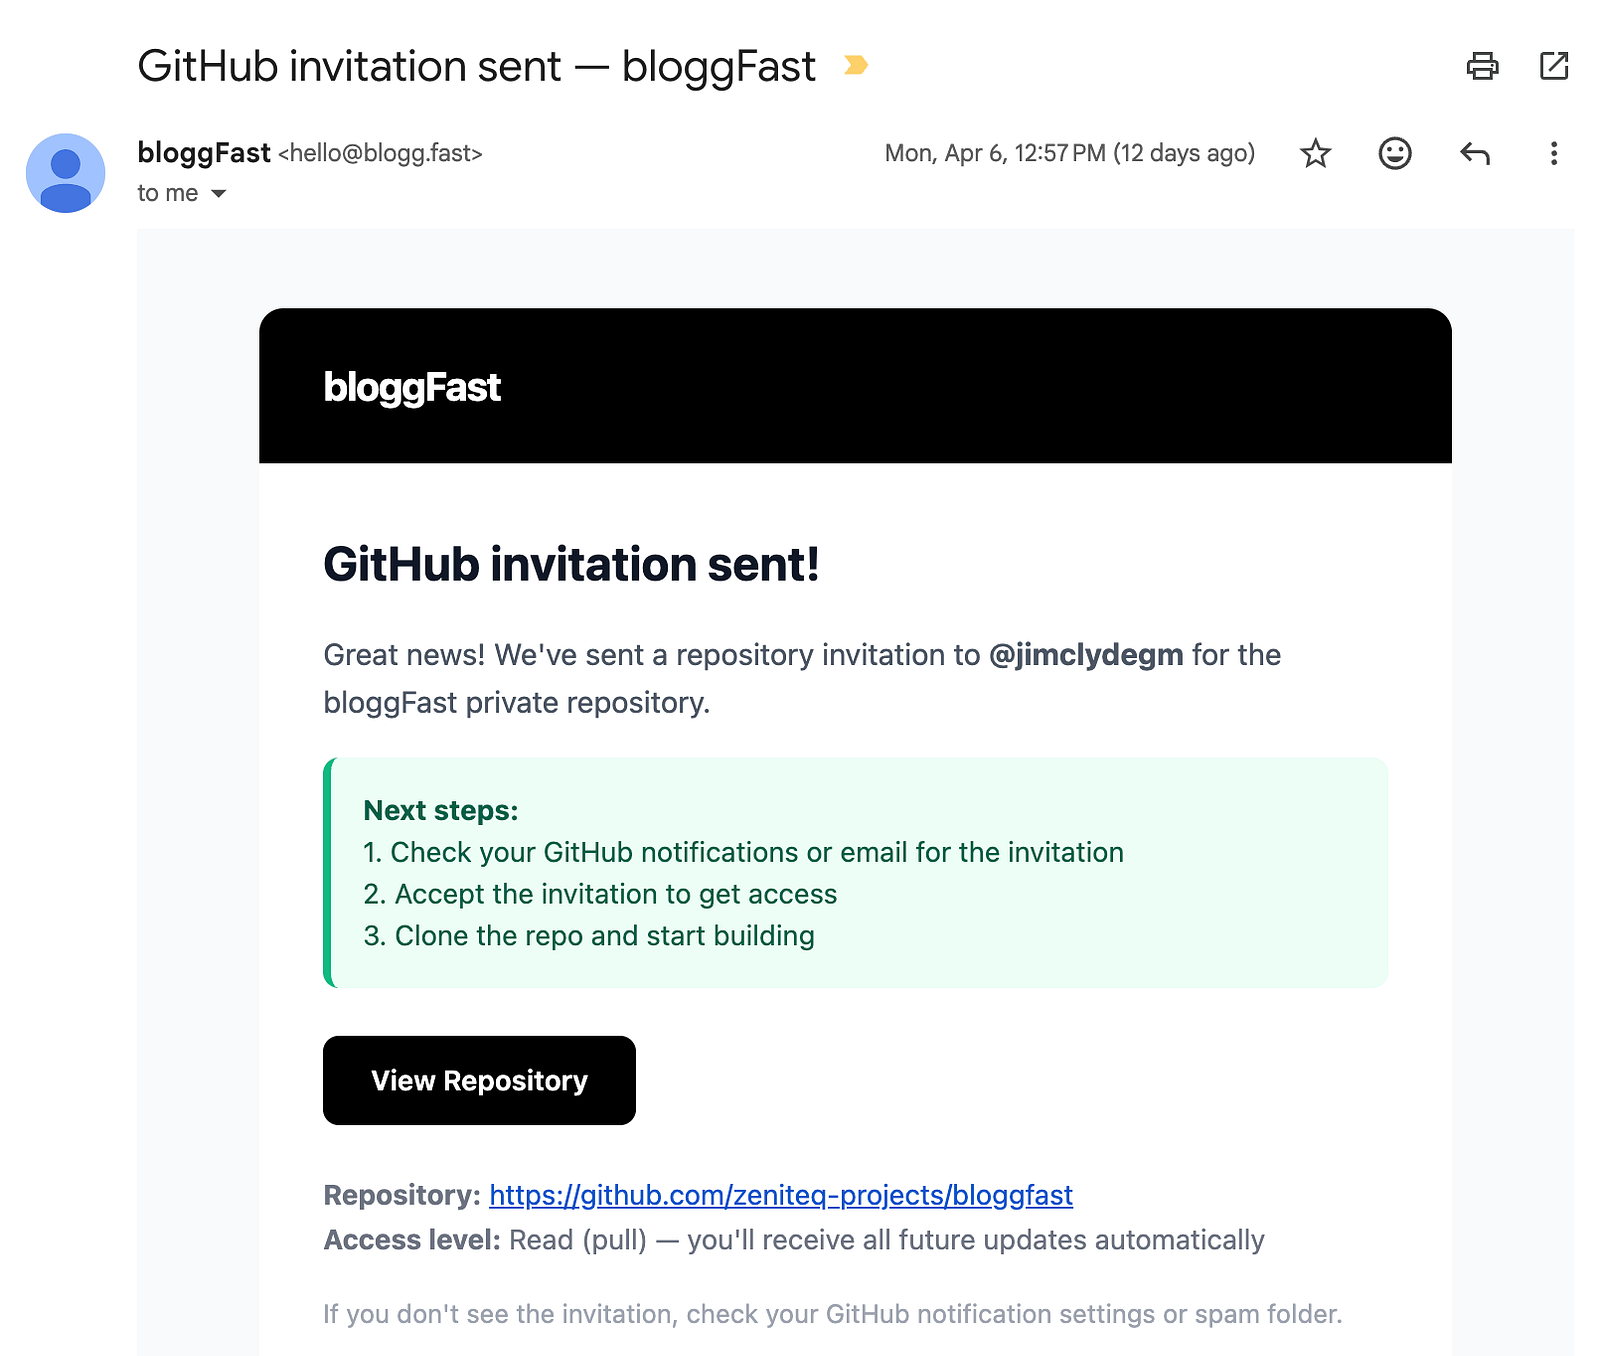
Open that email and click View repository to access the source code. From there, you can either download the repository as a ZIP file or clone it directly to your local machine using Git.
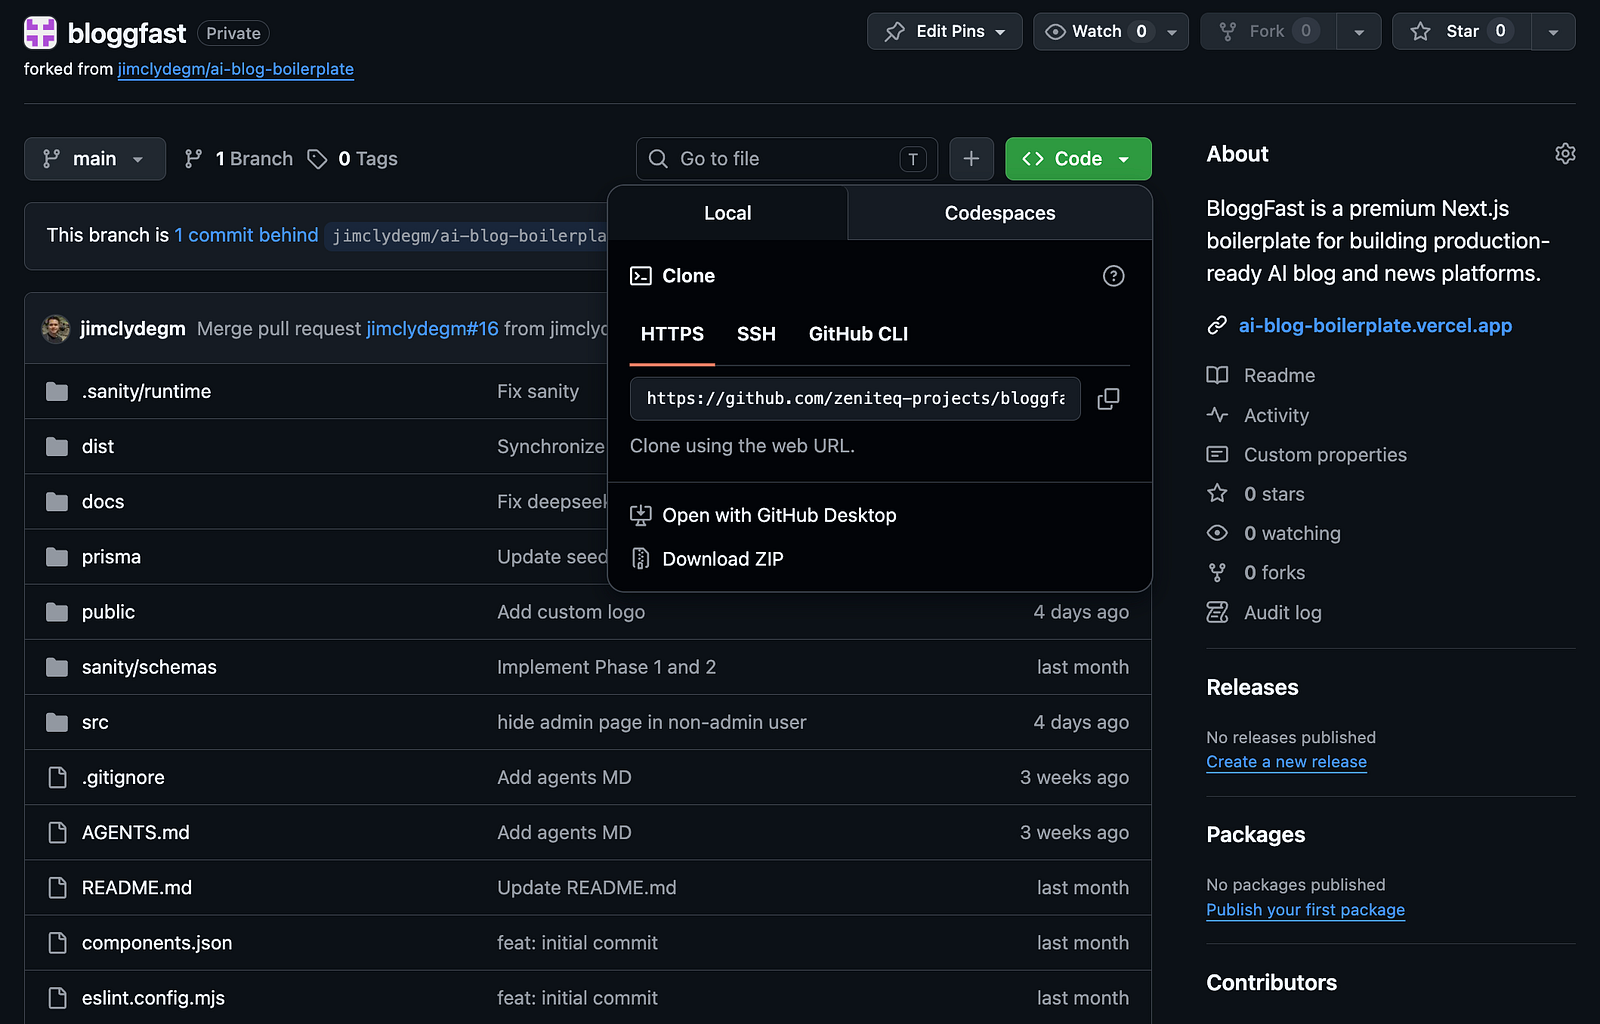
git clone https://github.com/your-org/bloggfast.git my-blog
cd my-blog
After downloading or cloning the project, extract the files if needed, and confirm that the full project directory is available locally.
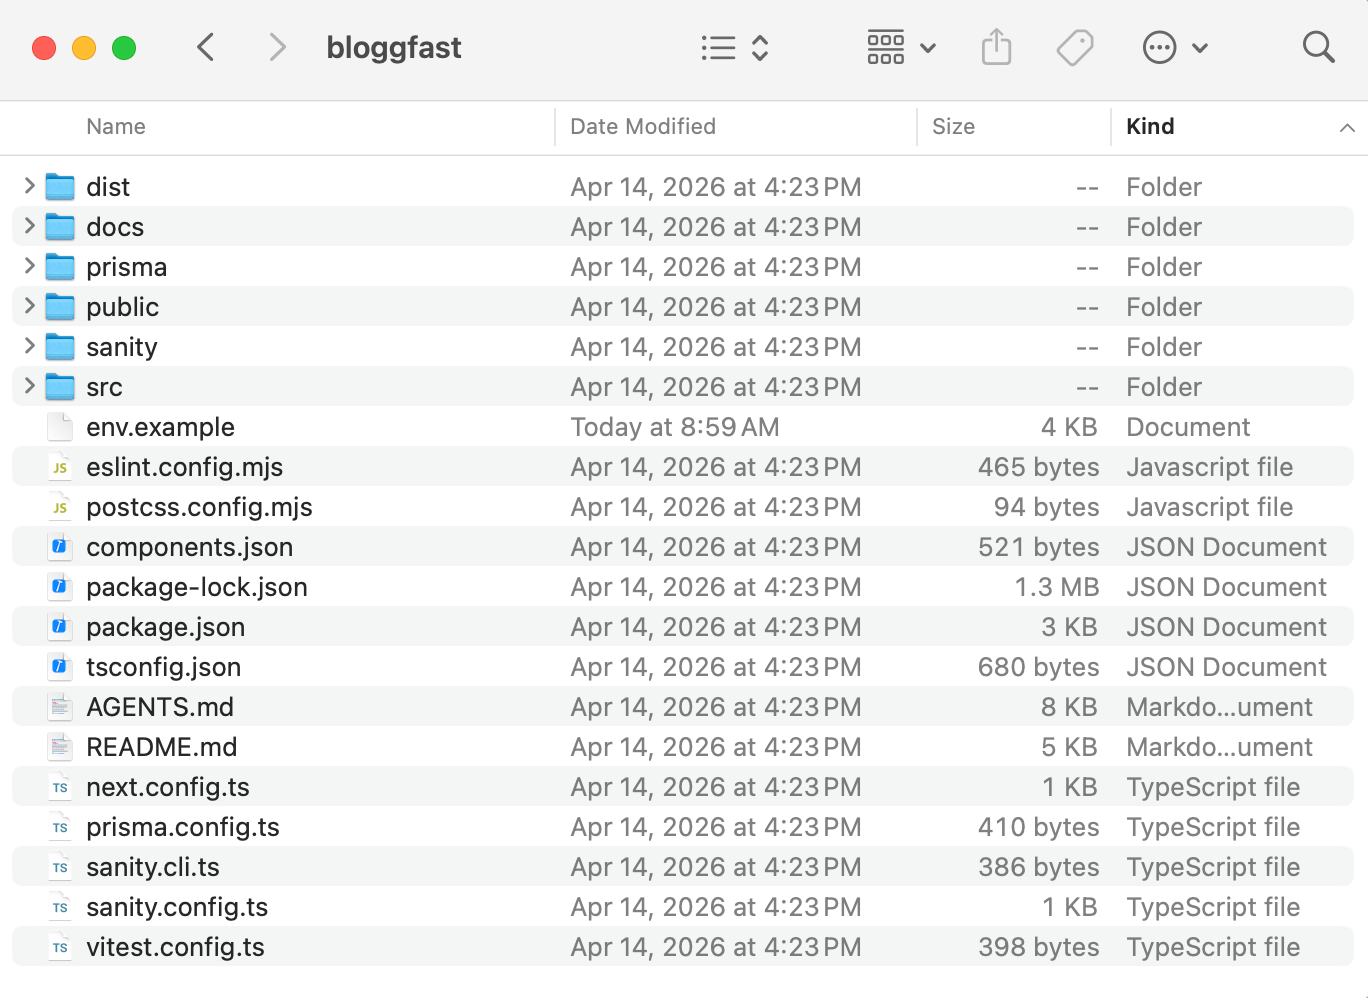
Once that is done, you are ready to continue with the setup.
Open the project in your IDE
Open the project folder in your preferred IDE. In this example, I will be using Google Antigravity IDE, but any modern editor such as VS Code, Cursor, or WebStorm will work just fine.
Tip