Running Locally
Build the app, start the dev server, and confirm it loads in the browser.
Last updated:
Step 3: Set up the database
With the environment variables configured, the next step is to create the database schema and populate the initial data. At this stage, the process is straightforward: run the Prisma migration command against your target database so Prisma can create the tables, relations, and other schema objects defined by your project.
Go to the terminal and run the command below:
npx prisma migrate dev --name init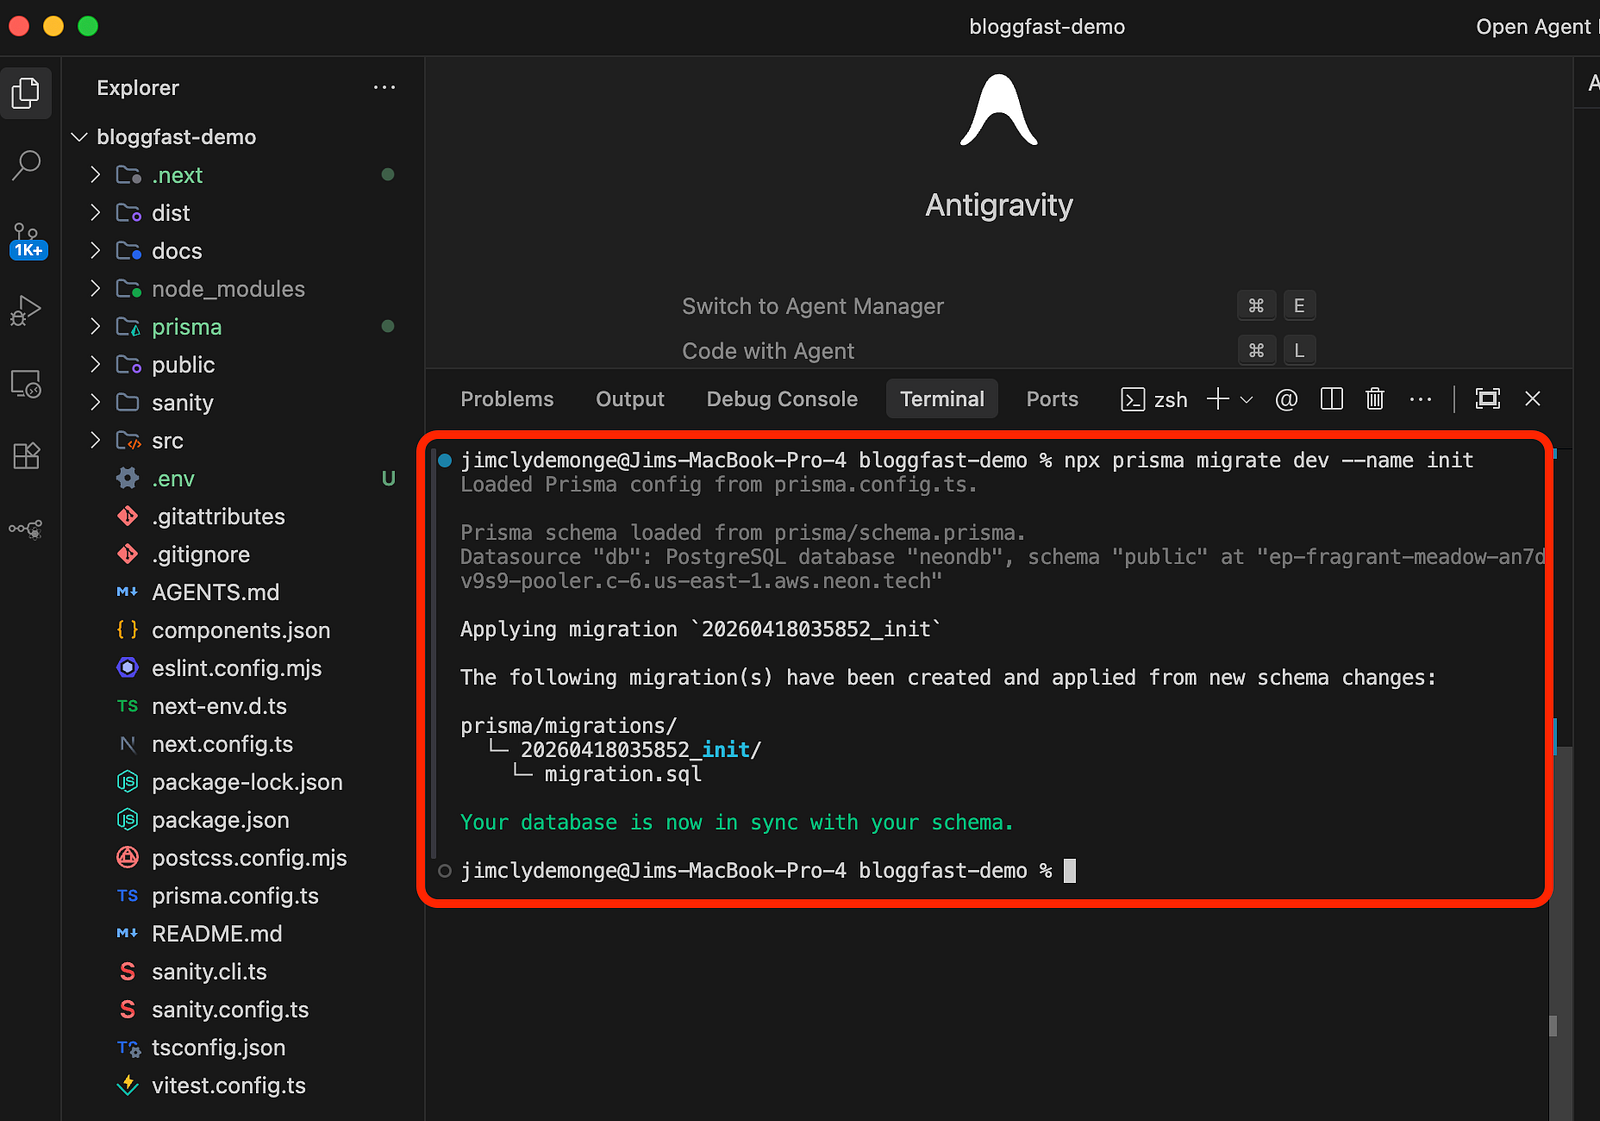
If the local generation of the initial migration is successful, you should see this message: "Your database is now in sync with your schema."
To apply all pending migrations in the target environment, run the command:
npx prisma migrate deployGo back to the Neon project's page and refresh the Tables dashboard. You should now see all the tables.
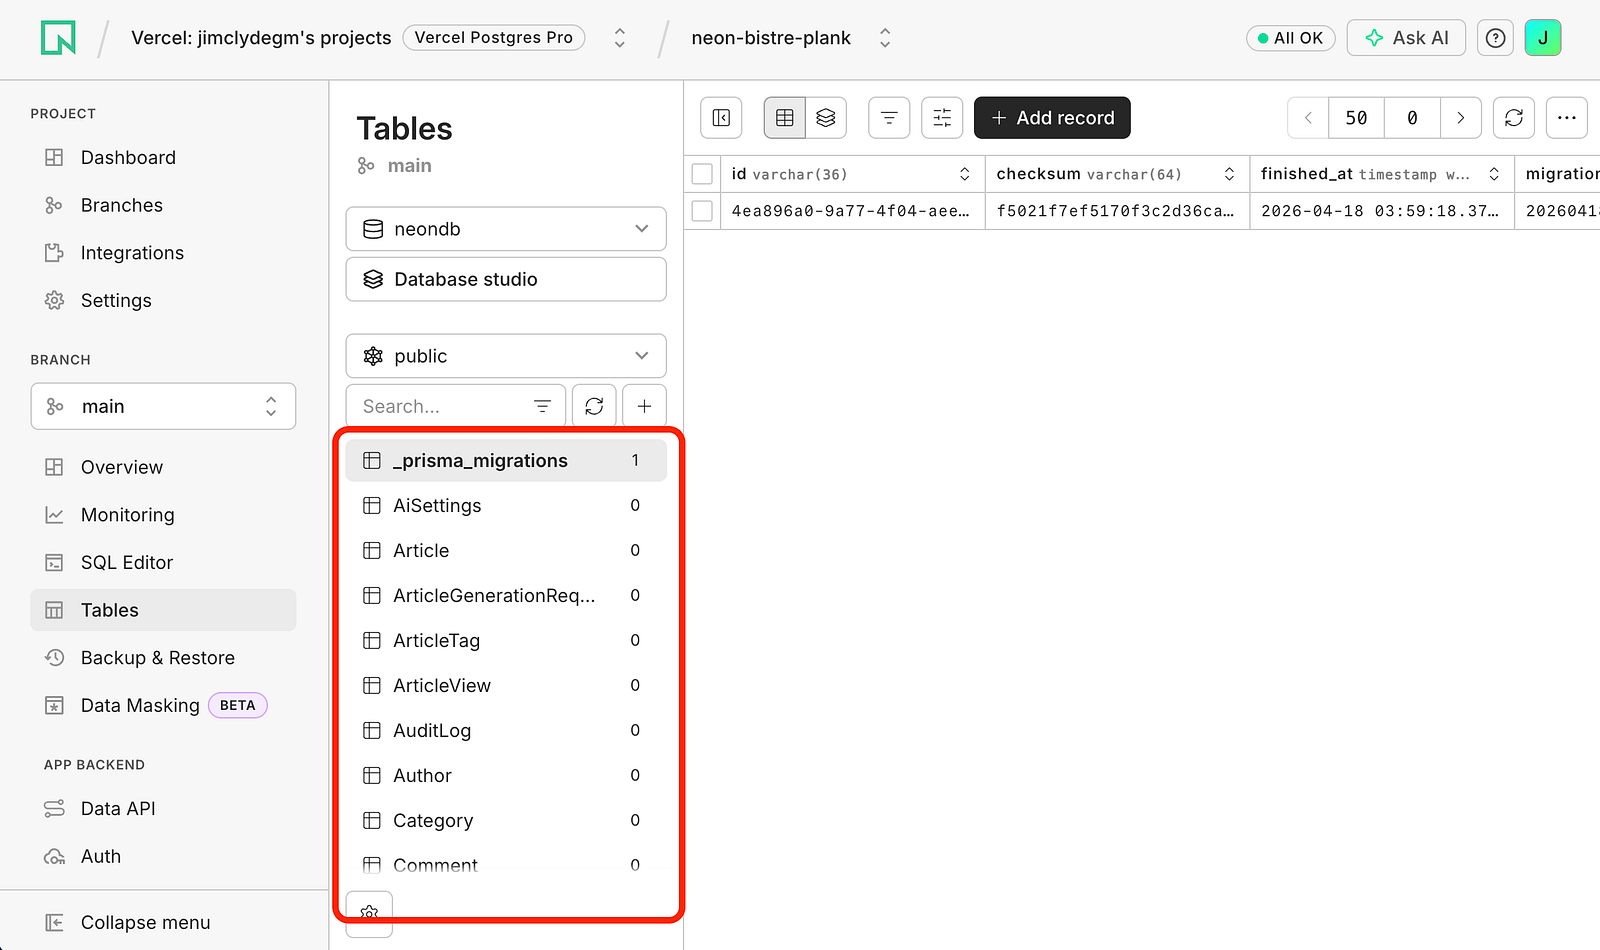
Cool. The next step is to populate the database with pre-created content. In the terminal, run the db seed command:
npx prisma db seed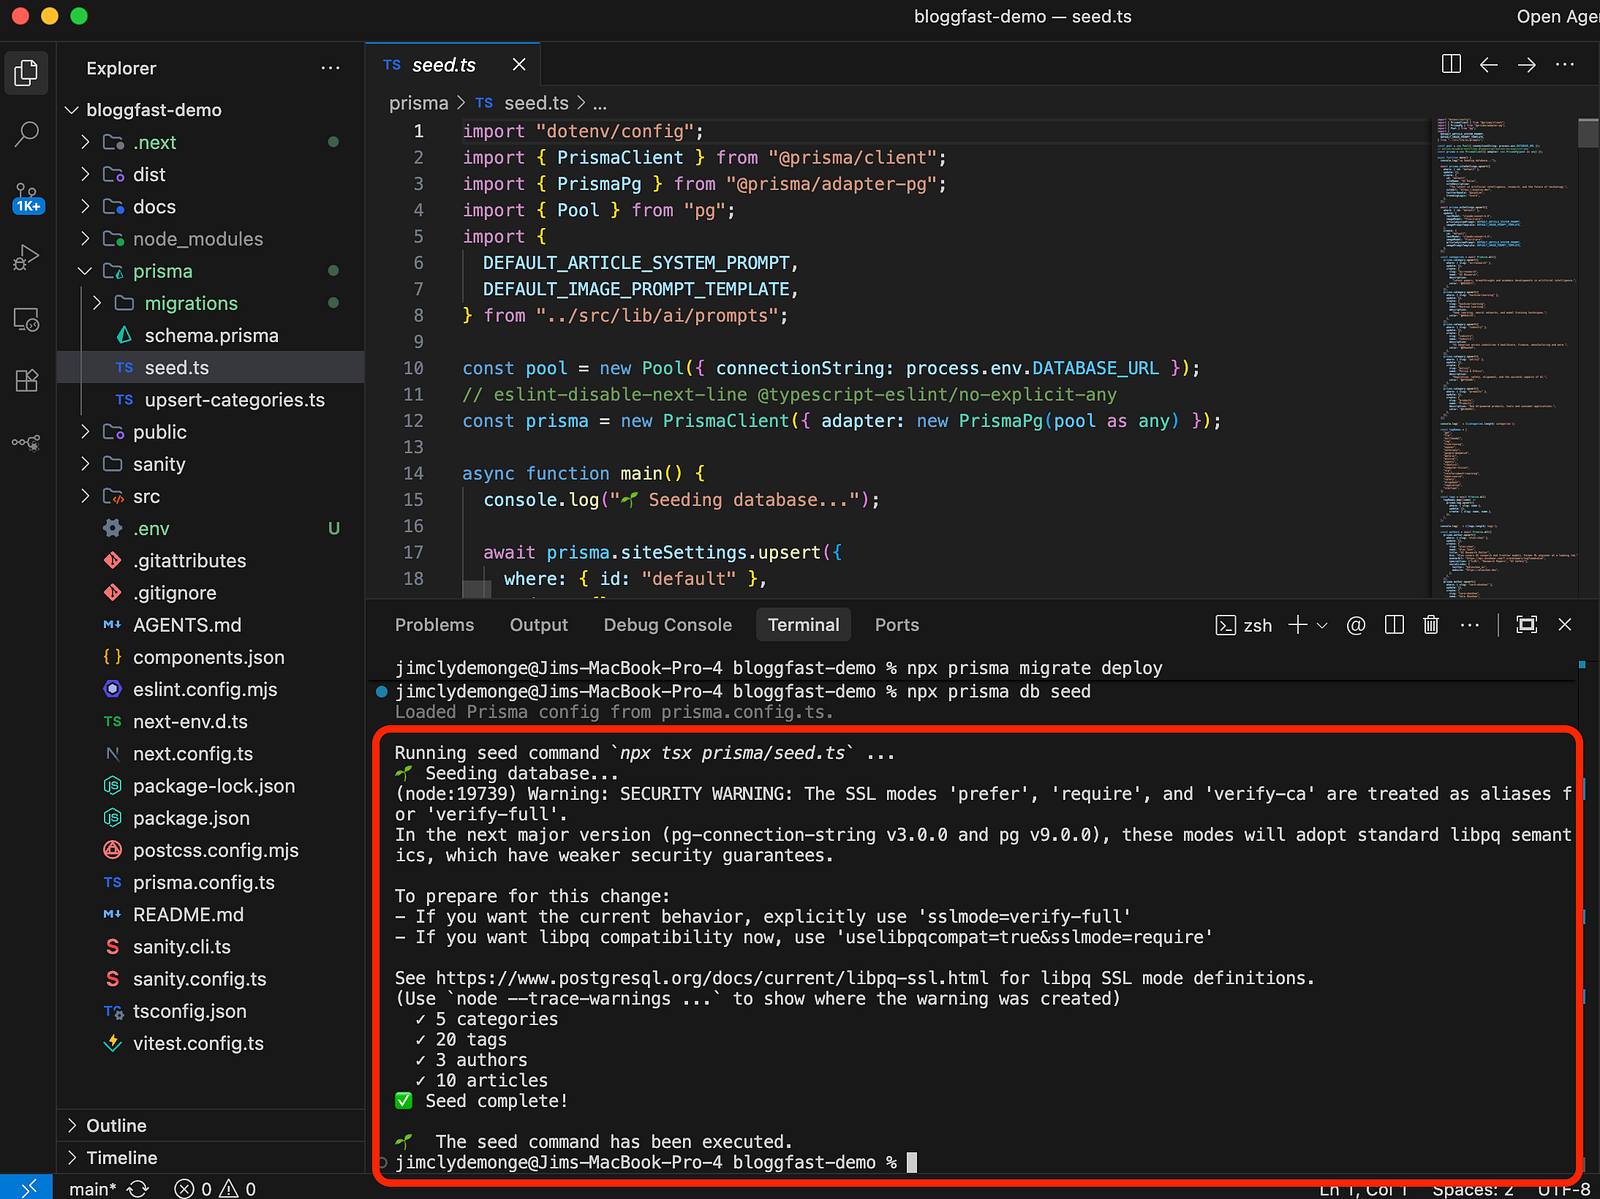
Confirm the success message in the DB seed command. If yes, check if the remote database is populated properly.
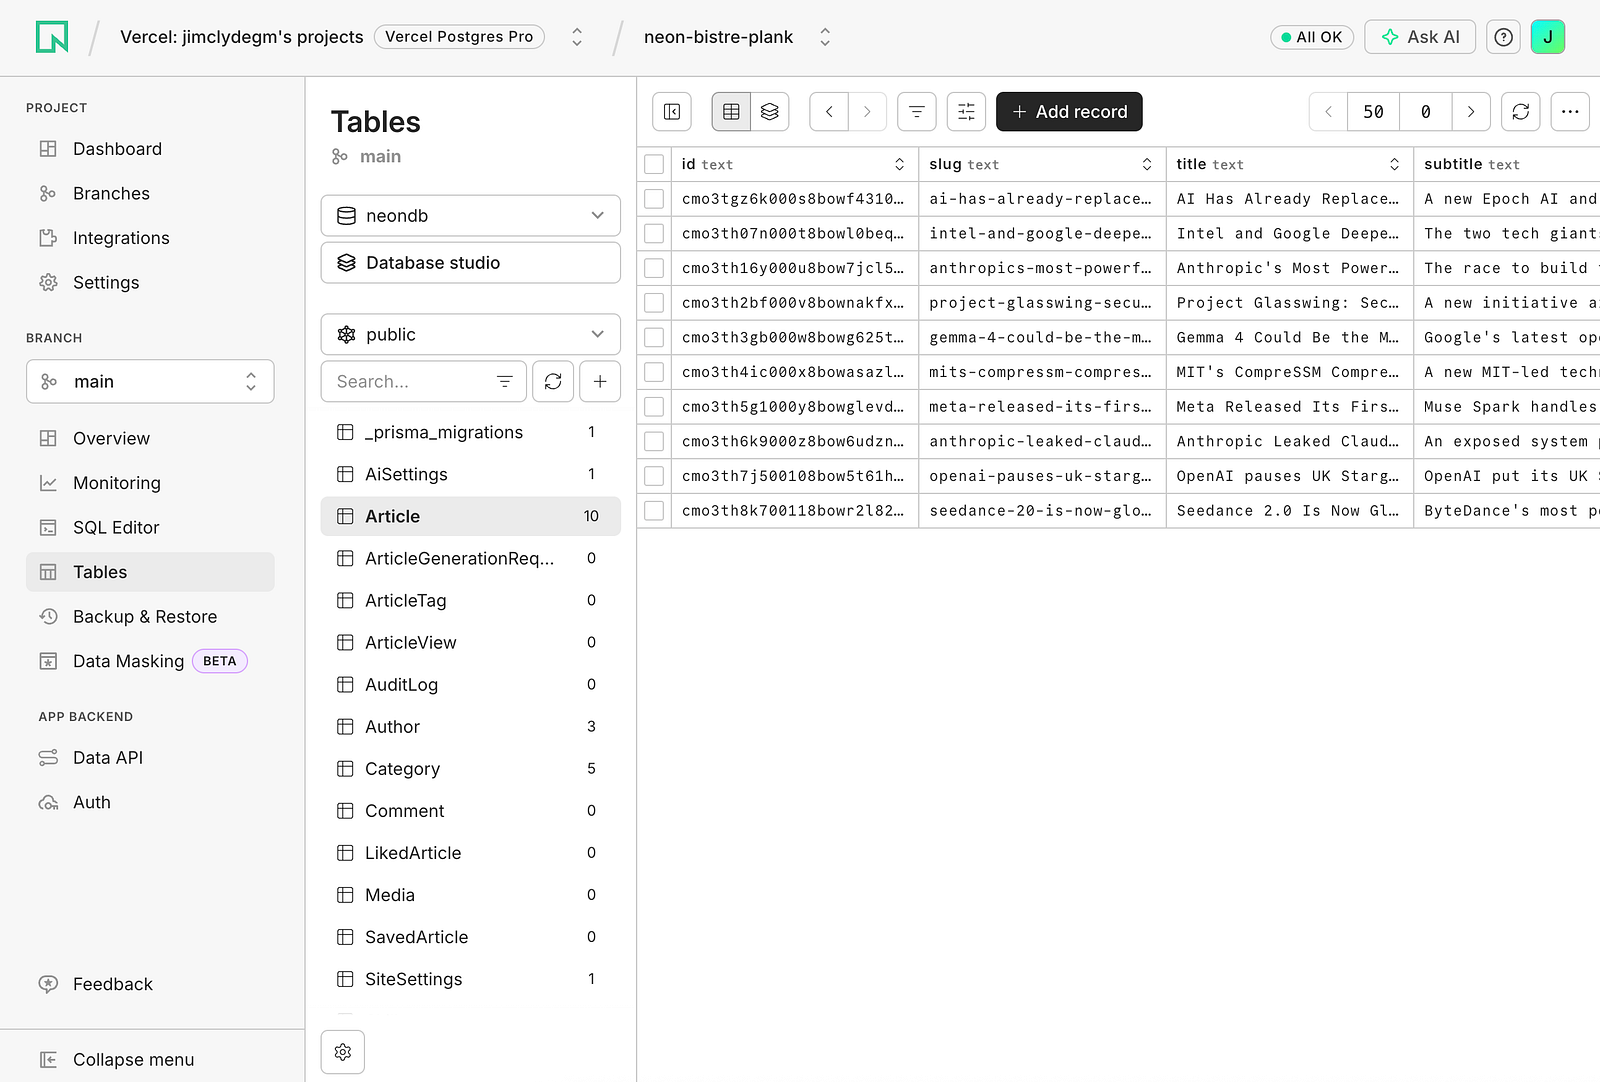
Awesome! The database is finally done. The next step is to build and run the project locally.
Build and run the project
After the database is set up, the next step is to build the project. This creates an optimized production-ready version of the application that can be deployed to your server or hosting platform.
Run the build command from the root of the project:
npm run build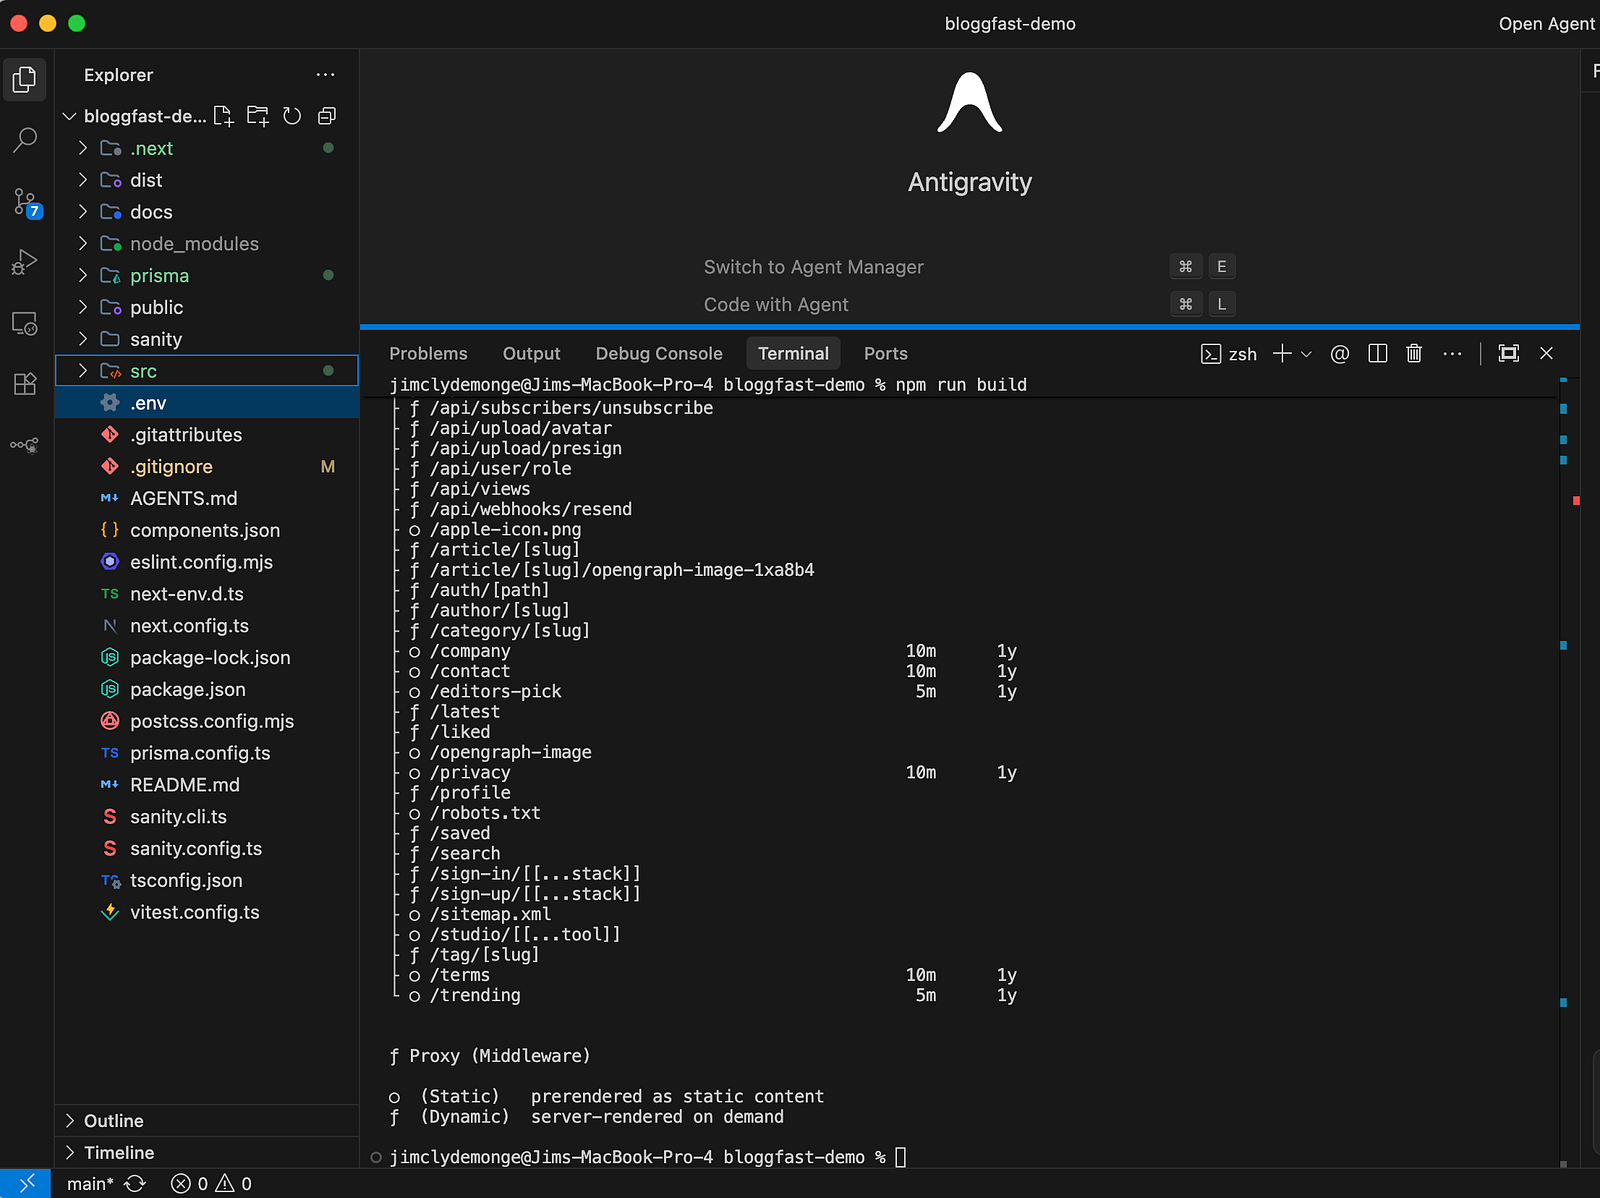
During this step, the framework compiles the application, checks for build-time issues, and generates the output needed for production. If the build completes successfully, your project is ready for the final deployment steps, such as starting the server or publishing the generated files.
This step is a useful checkpoint because it confirms that the application, configuration, and dependencies are all in a deployable state.
Start the development server so you can preview the project locally:
npm run dev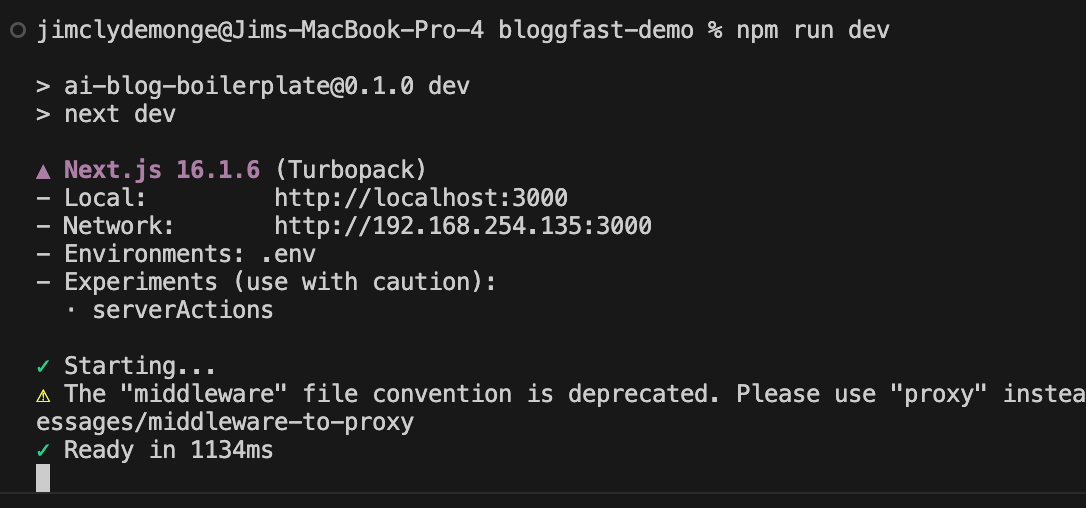
Now, open http://localhost:3000 in a browser, and the BloggFast dashboard looks like the image below. You should also see this list of articles.
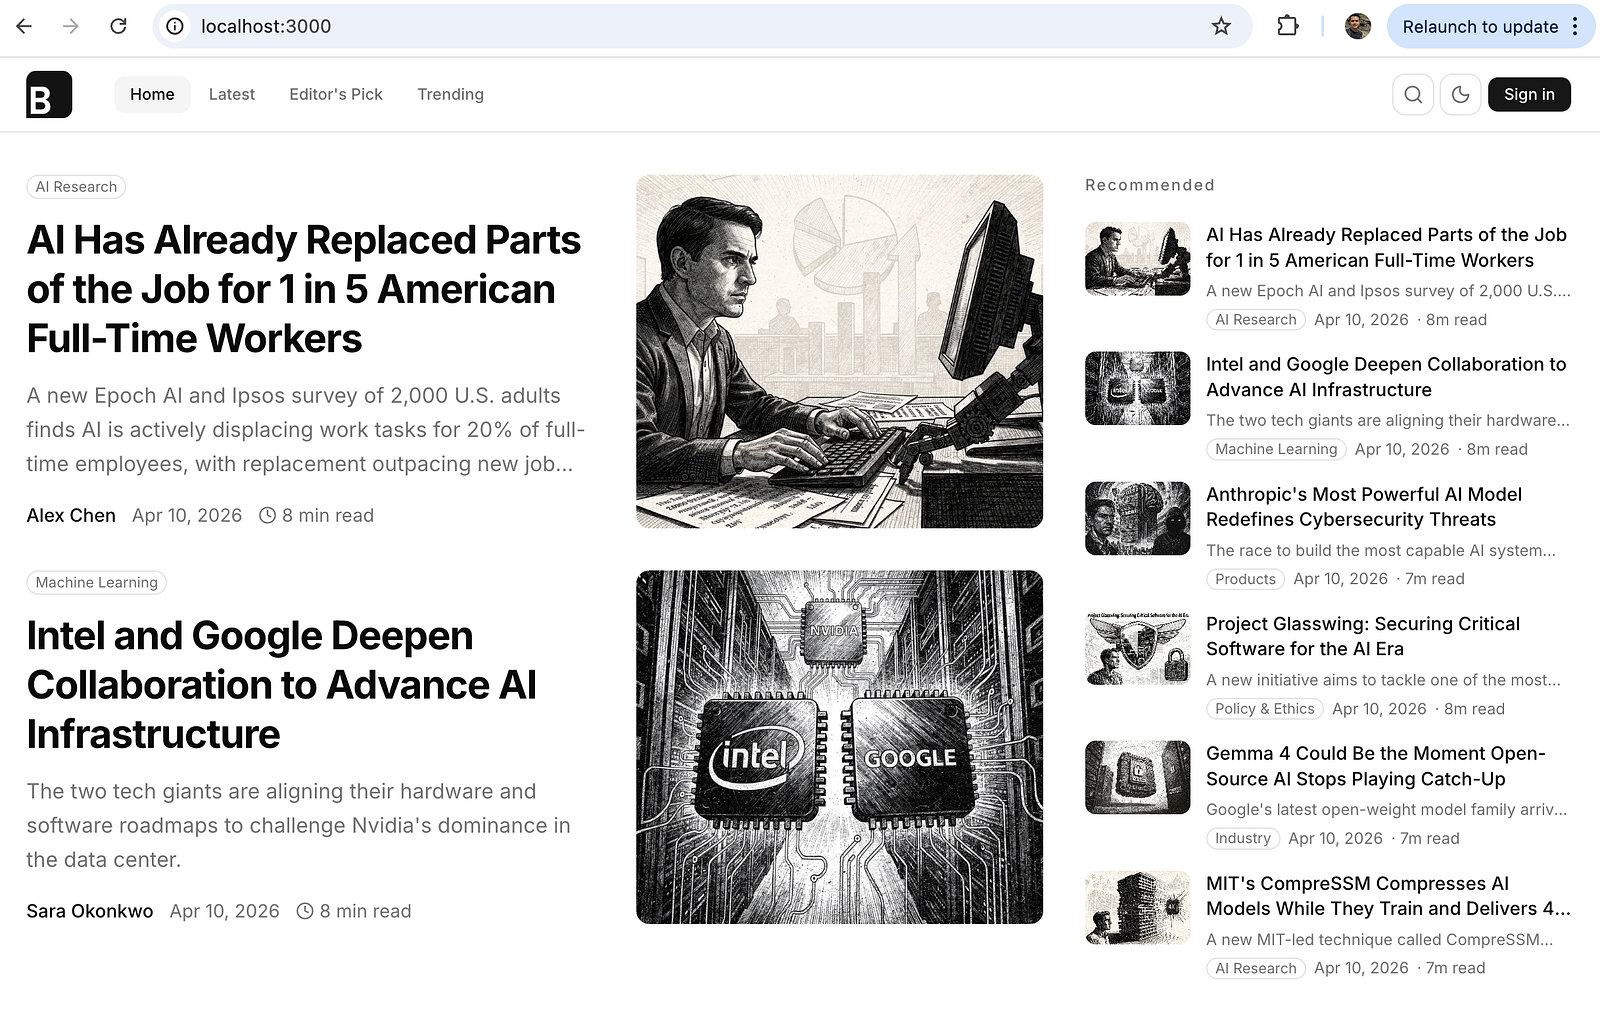
Toggle the theme to see if the dark mode works correctly.
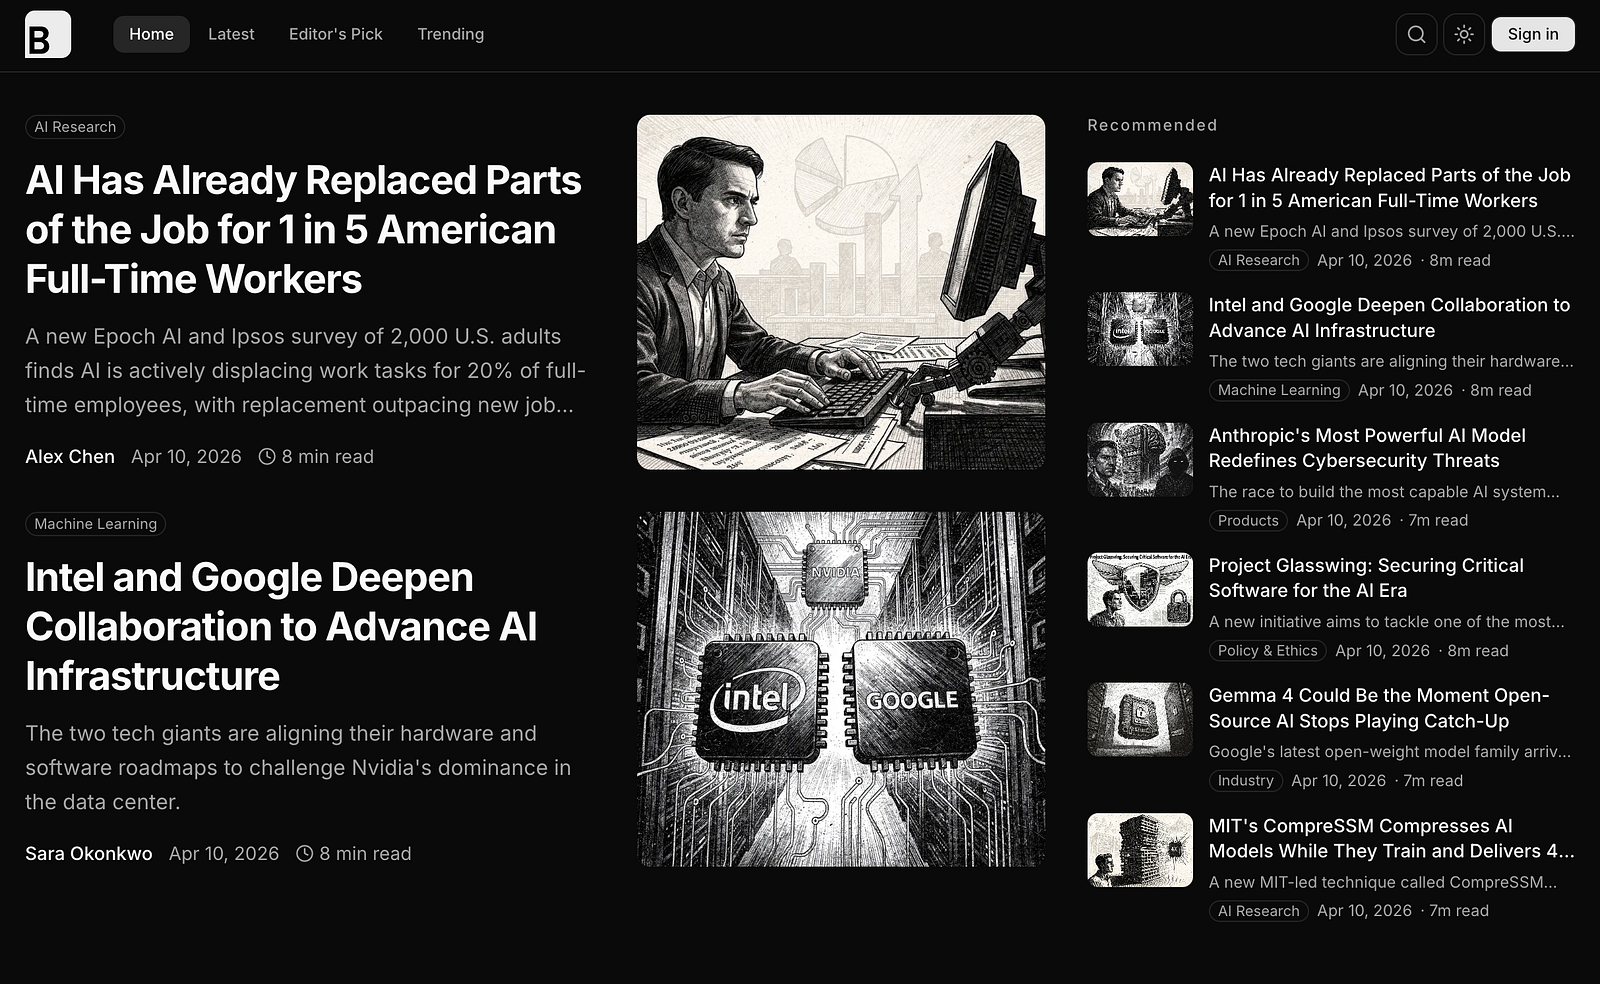
This is what the article preview looks like:
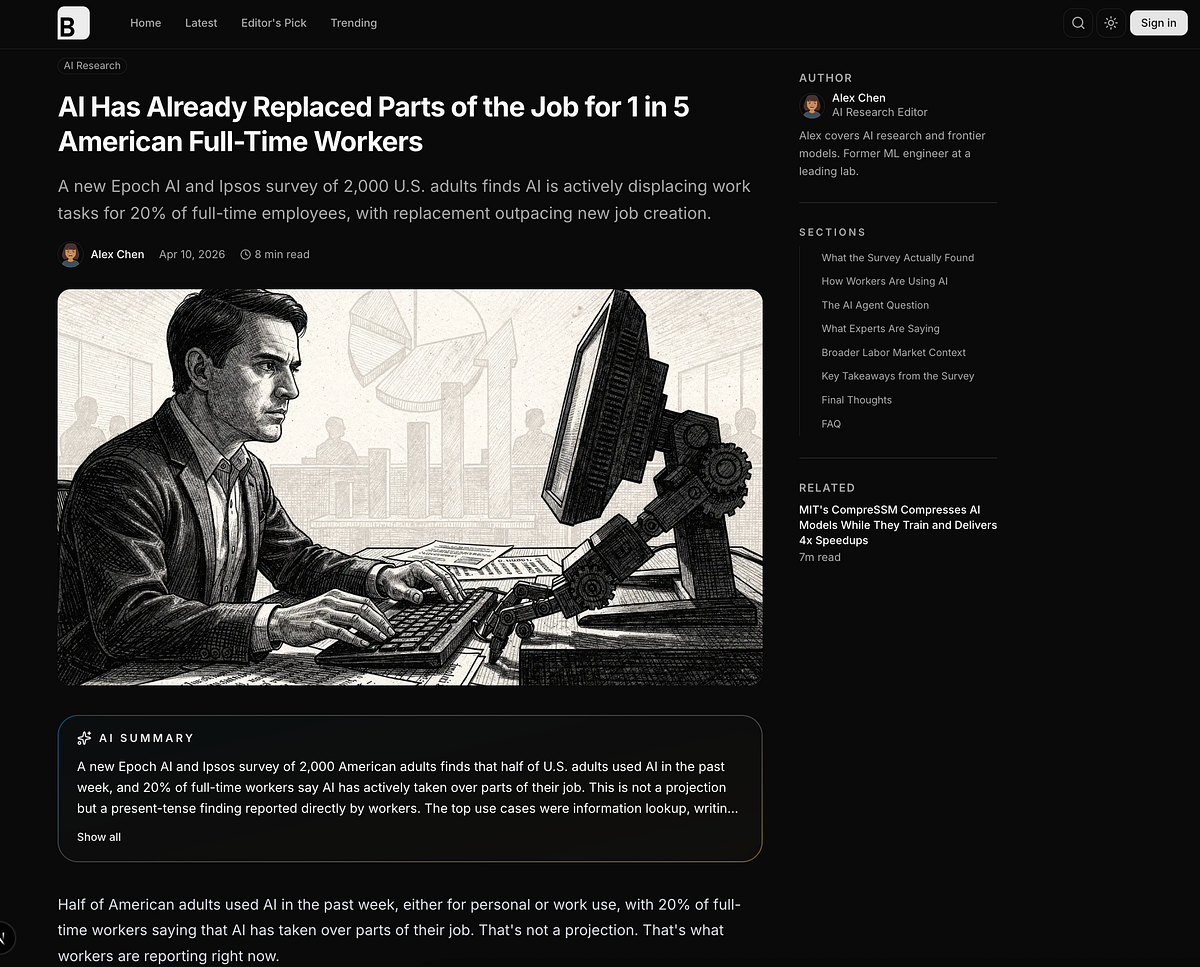
Alright, everything looks good. It's time to test the auth and article generation.
Available npm scripts
| Script | What it does |
|---|---|
npm run dev | Starts the Next.js dev server at http://localhost:3000 |
npm run build | Runs prisma generate then builds for production |
npm run start | Serves the production build |
npm run lint | Runs ESLint |
npm run db:generate | prisma generate |
npm run db:migrate | prisma migrate dev |
npm run db:push | prisma db push |
npm run db:seed | npx tsx prisma/seed.ts |
npm run db:studio | Prisma Studio at http://localhost:5555 |