Deploying to Vercel
Step-by-step guide to deploying BloggFast to Vercel from your GitHub repository.
Last updated:
Push code to GitHub
If you haven't already, push your BloggFast project to a GitHub repository (public or private):
git init
git add .
git commit -m "Initial BloggFast setup"
git remote add origin https://github.com/your-username/my-blog.git
git push -u origin main
Import project in Vercel
- Go to vercel.com/new
- Click Import Git Repository
- Select your BloggFast repository
- Vercel will auto-detect it as a Next.js project
Set environment variables
Before clicking Deploy, expand the Environment Variables section and add all your production credentials. Copy these from your local .env, but use production values (real domain, production DB, production API keys).
Warning
DATABASE_URL for production. Create a separate Neon branch or project for production data, or use the same project with a different database branch.Key variables to set in Vercel:
NEXT_PUBLIC_APP_URL— your production domain (e.g.,https://myblog.com)NEXT_PUBLIC_SITE_URL— same as APP_URL for productionDATABASE_URL— production Neon pooled connection stringDATABASE_URL_UNPOOLED— production Neon direct connection stringNEON_AUTH_BASE_URL— from your Neon project Auth tabNEON_AUTH_COOKIE_SECRET— strong random secret for session cookiesNEXT_PUBLIC_SANITY_PROJECT_IDNEXT_PUBLIC_SANITY_DATASETSANITY_API_TOKENandSANITY_TOKEN_ARTICLE_UPLOADERAI_GATEWAY_API_KEY— Vercel AI Gateway keyRESEND_API_KEY,RESEND_FROM_EMAIL,RESEND_WEBHOOK_SECRET- Cloudflare R2:
CLOUDFLARE_ACCOUNT_ID,R2_BUCKET_NAME,R2_ENDPOINT,R2_ACCESS_KEY_ID,R2_SECRET_ACCESS_KEY,R2_PUBLIC_DEVELOPMENT_URL,R2_PUBLIC_BASE_URL,NEXT_PUBLIC_MAX_UPLOAD_MB
Tip
.env file you filled in during local setup — it populates every variable at once.Deploy
With local testing complete, the final step is to deploy the project to Vercel.
Once the project is configured, trigger the redeployment and the project should build successfully.
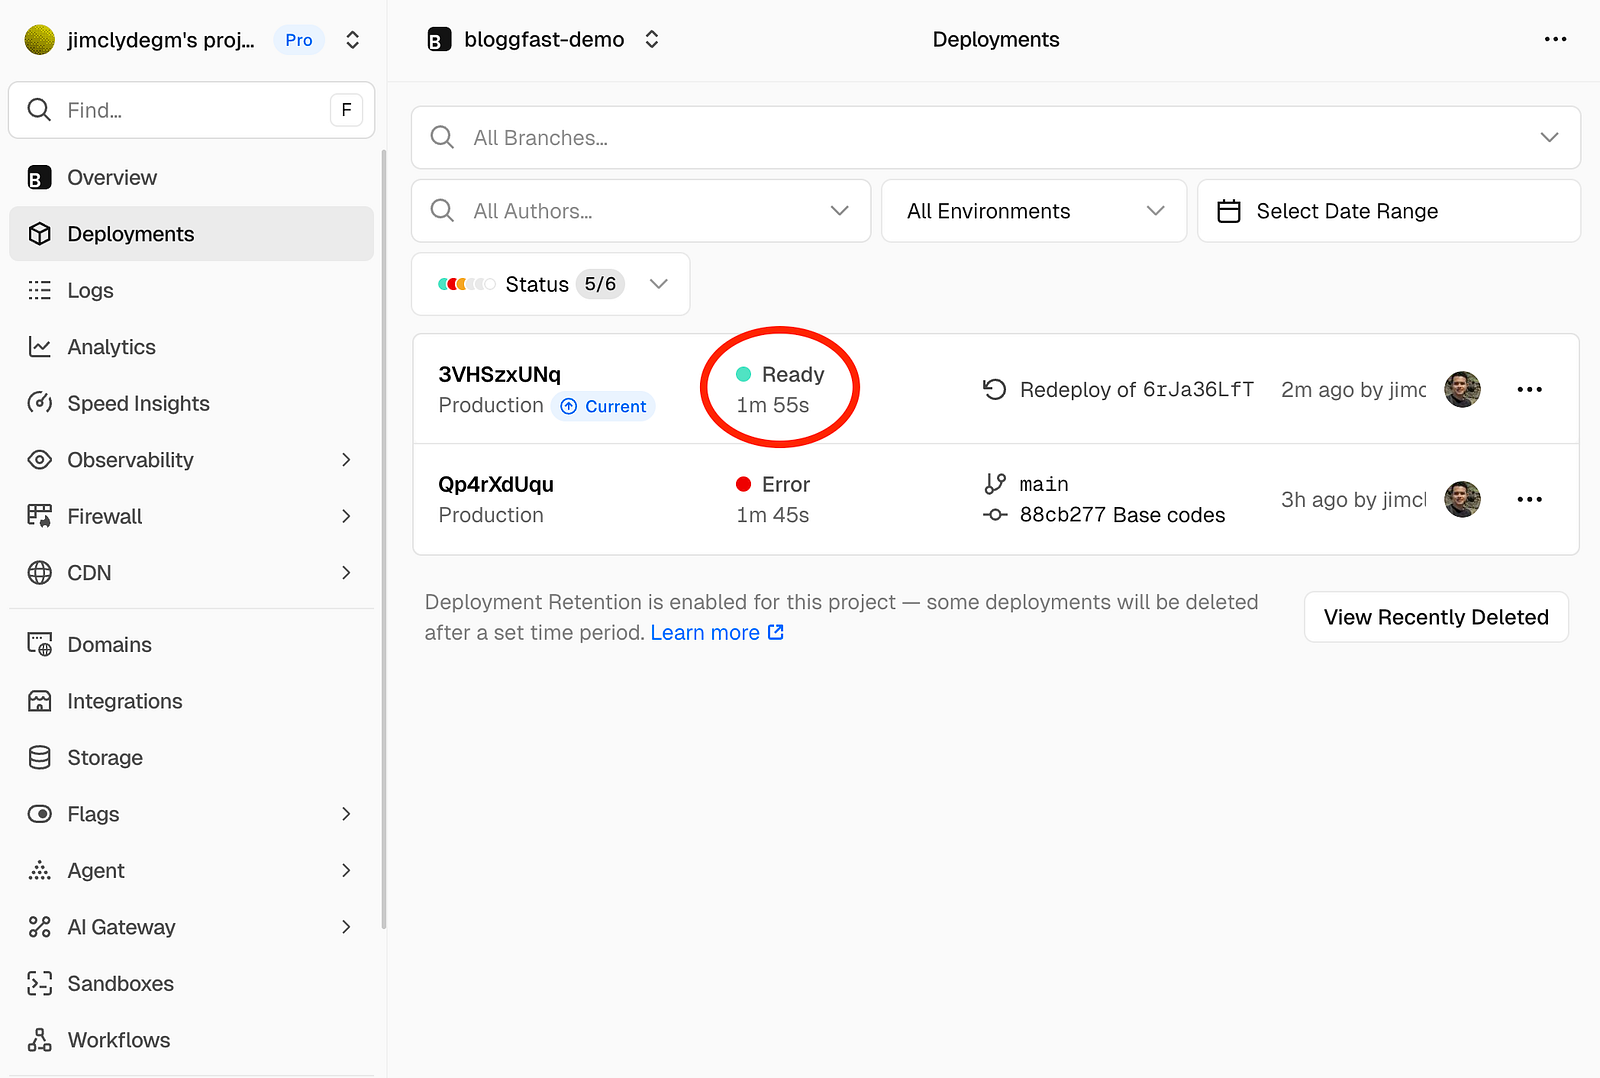
If your repository stays connected to Vercel, future deployments become much simpler. Vercel automatically creates deployments for branch pushes, while merges to the production branch can be used for production releases. This makes it easy to continue testing in preview environments before promoting changes to the live site. Vercel documents three default environments for this workflow: Local, Preview, and Production.
Run database migrations
After the first deploy, run Prisma migrations against your production database. You can do this from your local machine using the production DB URL:
# Temporarily set DATABASE_URL to production value
DATABASE_URL="postgresql://..." npx prisma migrate deploy
Alternatively, add prisma migrate deploy to your Vercel build command: npx prisma migrate deploy && next build
Verify the deployment
After deployment, open the production URL and test the same core flows you verified locally, especially login and AI article generation. This final check confirms that the application is working correctly in Vercel with the hosted environment, production variables, and live database connections in place.
That wraps up the project. At this point, you have the database set up, the app tested locally, and the project deployed to Vercel. From here, you can keep iterating, refine the experience, and continue shipping updates with a much smoother workflow.
When you are ready, you can also connect a custom domain in Vercel so your project is available on your own branded URL instead of the default vercel.app address. Vercel supports adding a domain directly from your project settings and guiding you through the DNS configuration needed to point it to your deployment.
With that in place, your application is not only live but ready to be shared more professionally with users, clients, or teammates.